The process of offset printing and binding books
2025-06-19
In the printing industry, compared to digital printing which is simple and quick with low minimum order quantities, offset printing has irreplaceable advantages for large quantity printing, high color requirements printing, complex binding book printing, and books with various finishing on cover. So, what is the specific process of offset printing, and what are the key points to pay attention to? Now, Sunnywell Printing will briefly introduce our printing process.
Step 1 - Offset Printing Files
1.File Format and Color Mode:
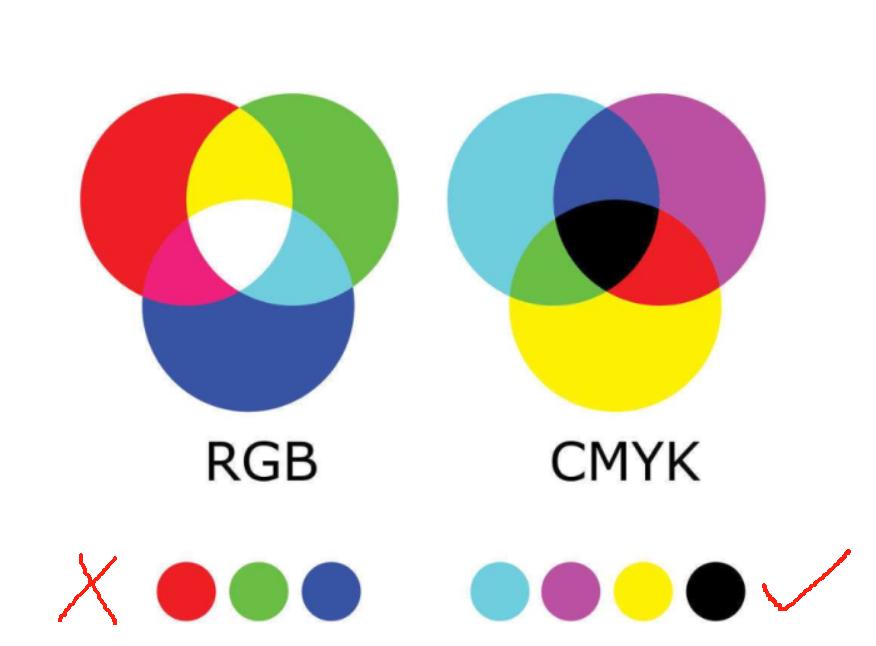
Files for offset printing must use the CMYK color mode to ensure consistency between printed colors and on-screen display. RGB images, RGB fills, or transparency effects will be converted to CMYK, which may cause color deviations in the final product.
Avoid using OLE objects; convert them to bitmap format.
2.Text and Graphic Processing:
Text and graphics must be placed within 4mm of the bleed area to prevent content loss during trimming.
Text must be outlined (converted to curves) to avoid font discrepancies across devices.
Line thickness should not be below 0.076mm, as thinner lines may become illegible after printing
Background patterns or colors should have a minimum 15% color value to ensure visibility.
3.Bleed Settings:
All content must extend at least 3mm beyond the trim edge to accommodate cutting tolerances and maintain aesthetics.
4.Additional Technical Requirements:
Black text should be pure black (C:0, M:0, Y:0, K:100). For large black backgrounds, adding 30% cyan enhances black density.
Minimum line thickness for printing is 0.1mm; finer lines may not reproduce.
Color contrast between backgrounds and patterns should be 10–15% for clear printing results.

5.Special Effects Handling:
Design effects (e.g., shadows, glows) must be rasterized before printing
Barcodes should be pure black (C0 M0 Y0 K100) with a white reverse underlay to ensure scannability on specialty papers
Step 2 - Sample approve
When the final artworks is done, we come to the next step of Pre-proof sample. To save the sample cost, we will using digital printing for sample book, Sunnywell will try to do the mass book binding with the digital printed page. When sample books ready, this physical book will be sent to our client via DHL within about 4-5 days. It is a very important process for mass books printing.

Step 3 - Craft Paper printing
When client approved the sample, we come to the mass printing, the craft paper is the last process to make the printing artworks are correct. Different from client original artwork, the craft paper artworks are using the files after offset press system setting, which is exactly file for offset printing.
Step 4- CTP & offset printing
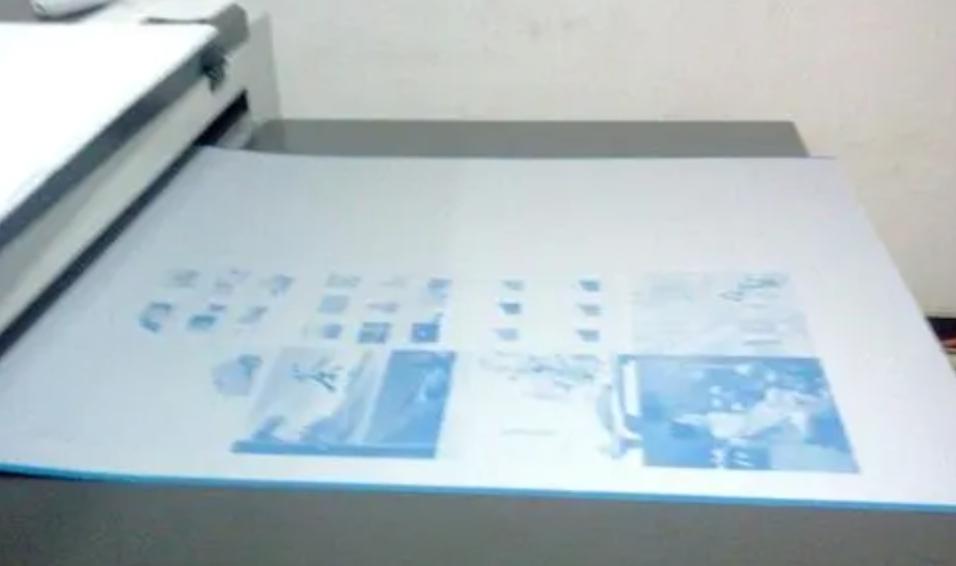
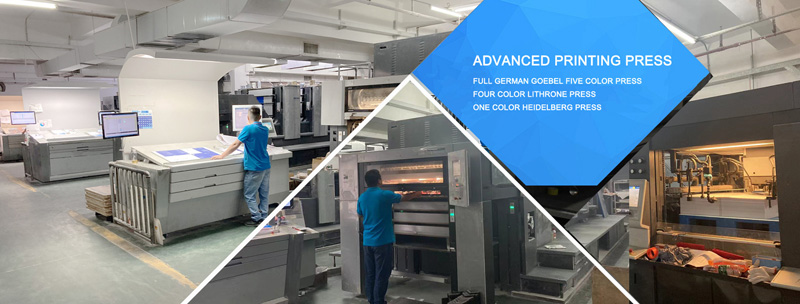
After Craft paper checking, if the files are all correct, then we make the offset plate , and trimming the paper stock for mass printing. In this part, many client come to our factory to check the color.
Step 4- Binding: Folding &Collecting&sewn
When printed ready, we come to the binding process
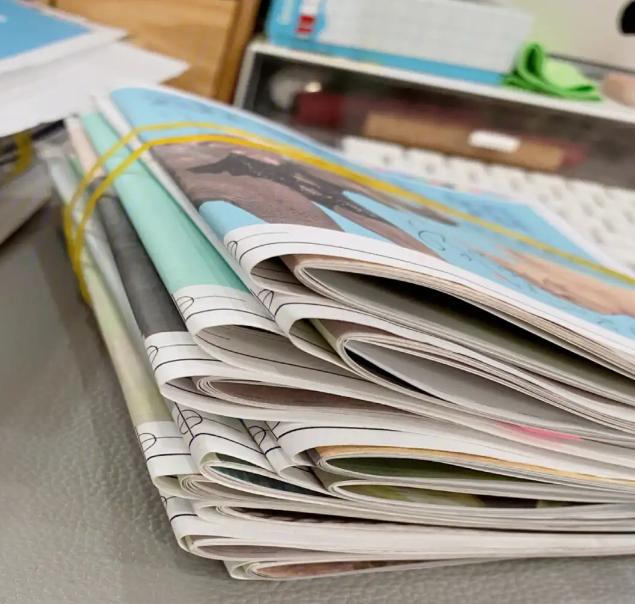
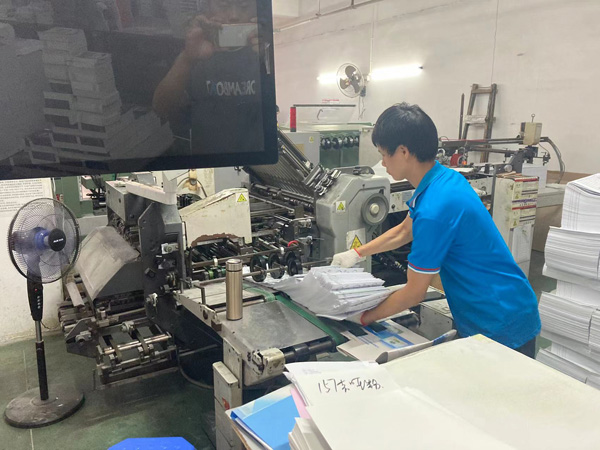
Folding: offset printing size is big size below 1000x700mm, after printing, the printed paper will be dry for 1-2 days, and then fold the big sheet to custom book size.
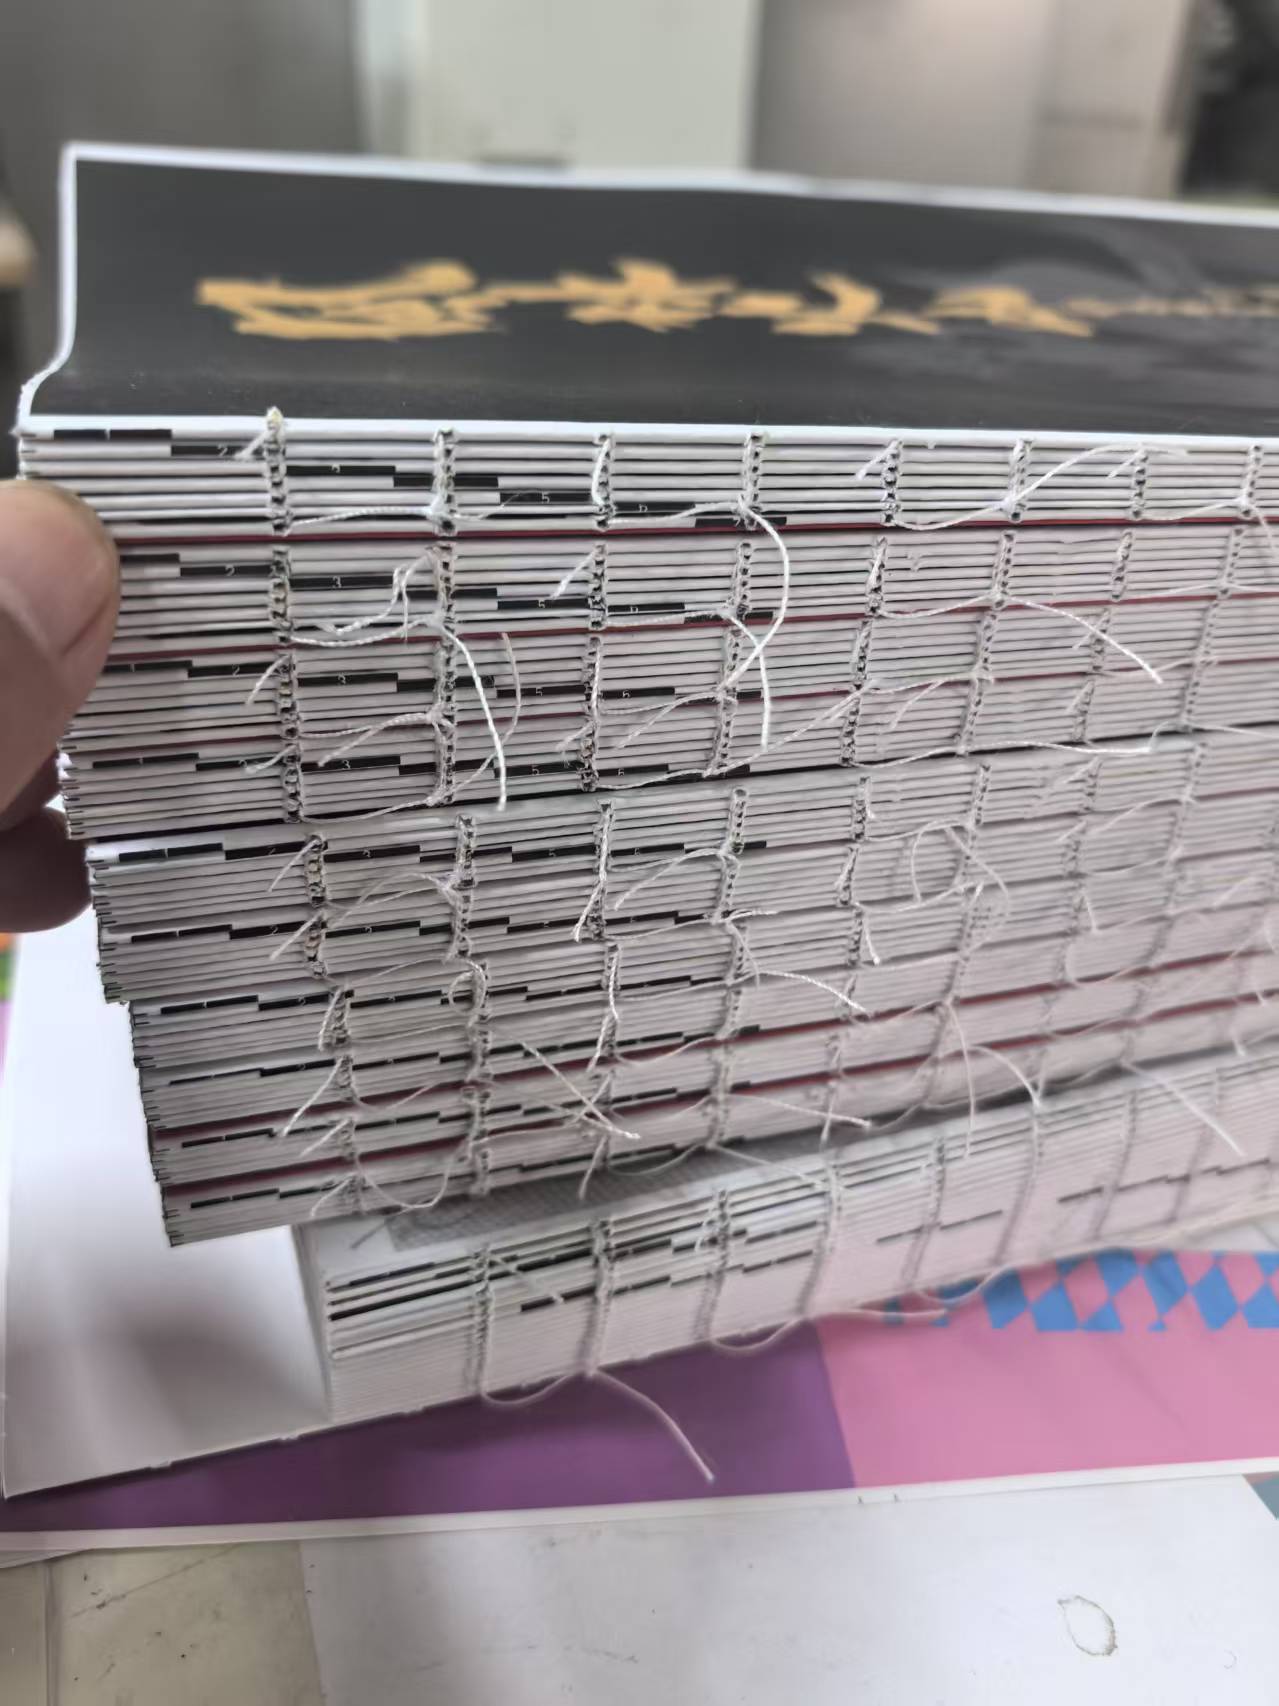
Sewn: using sting to sewn each signature, to binding the paper together.
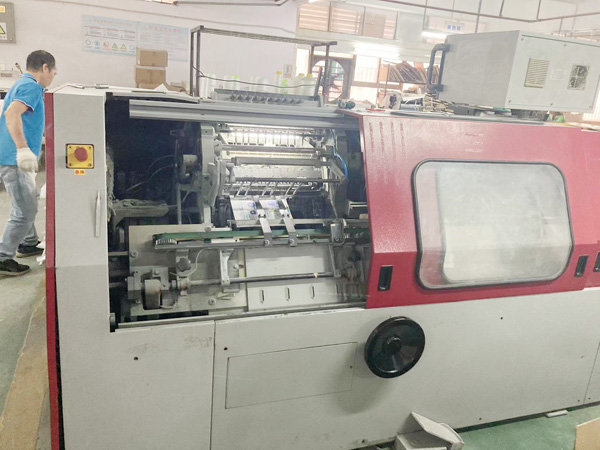
Final Step Adhesive the cover
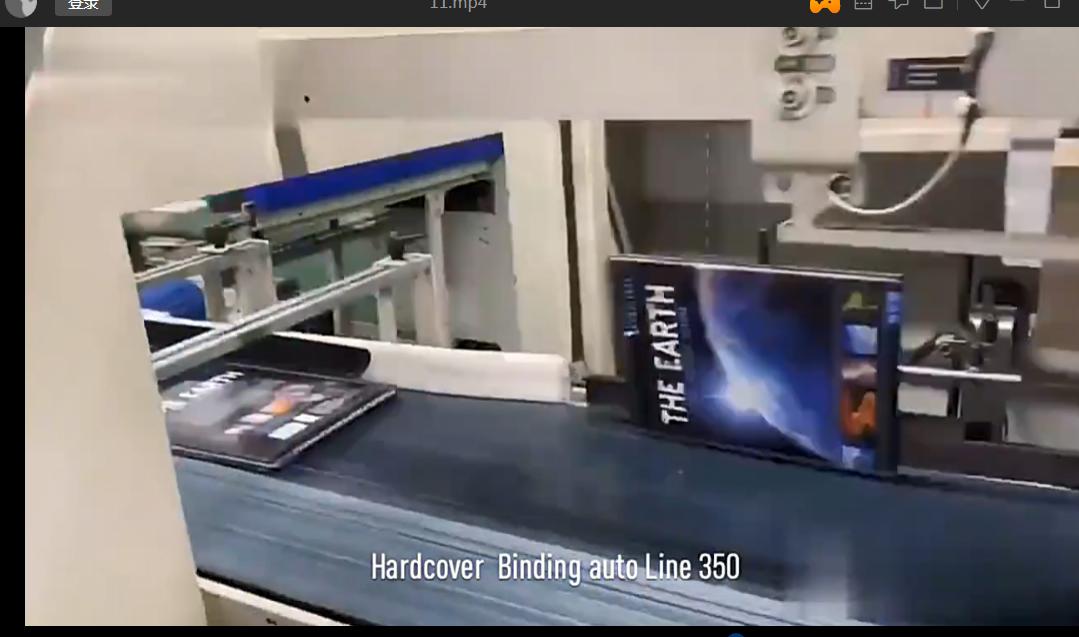
When the book guts ready, and the cover after finishing such as film lamination, foil stamping etc, we will glue the cover and inside guts together, then the final books ready.
If need more info about printing, fell free to contact Sunnywell printing.


